After seeing the transformation from painting the hallway, we were gung-ho to start another painting project. There was no procrastinating any longer, it was time to tackle one of the more difficult rooms in the house - the sun room!
The sun room used to be a covered and enclosed porch that was converted back in '03. This is one of the rooms that sold me on the house - this and the kitchen. Although since we have made upgrades to the master bedroom - that is also a close competitor!
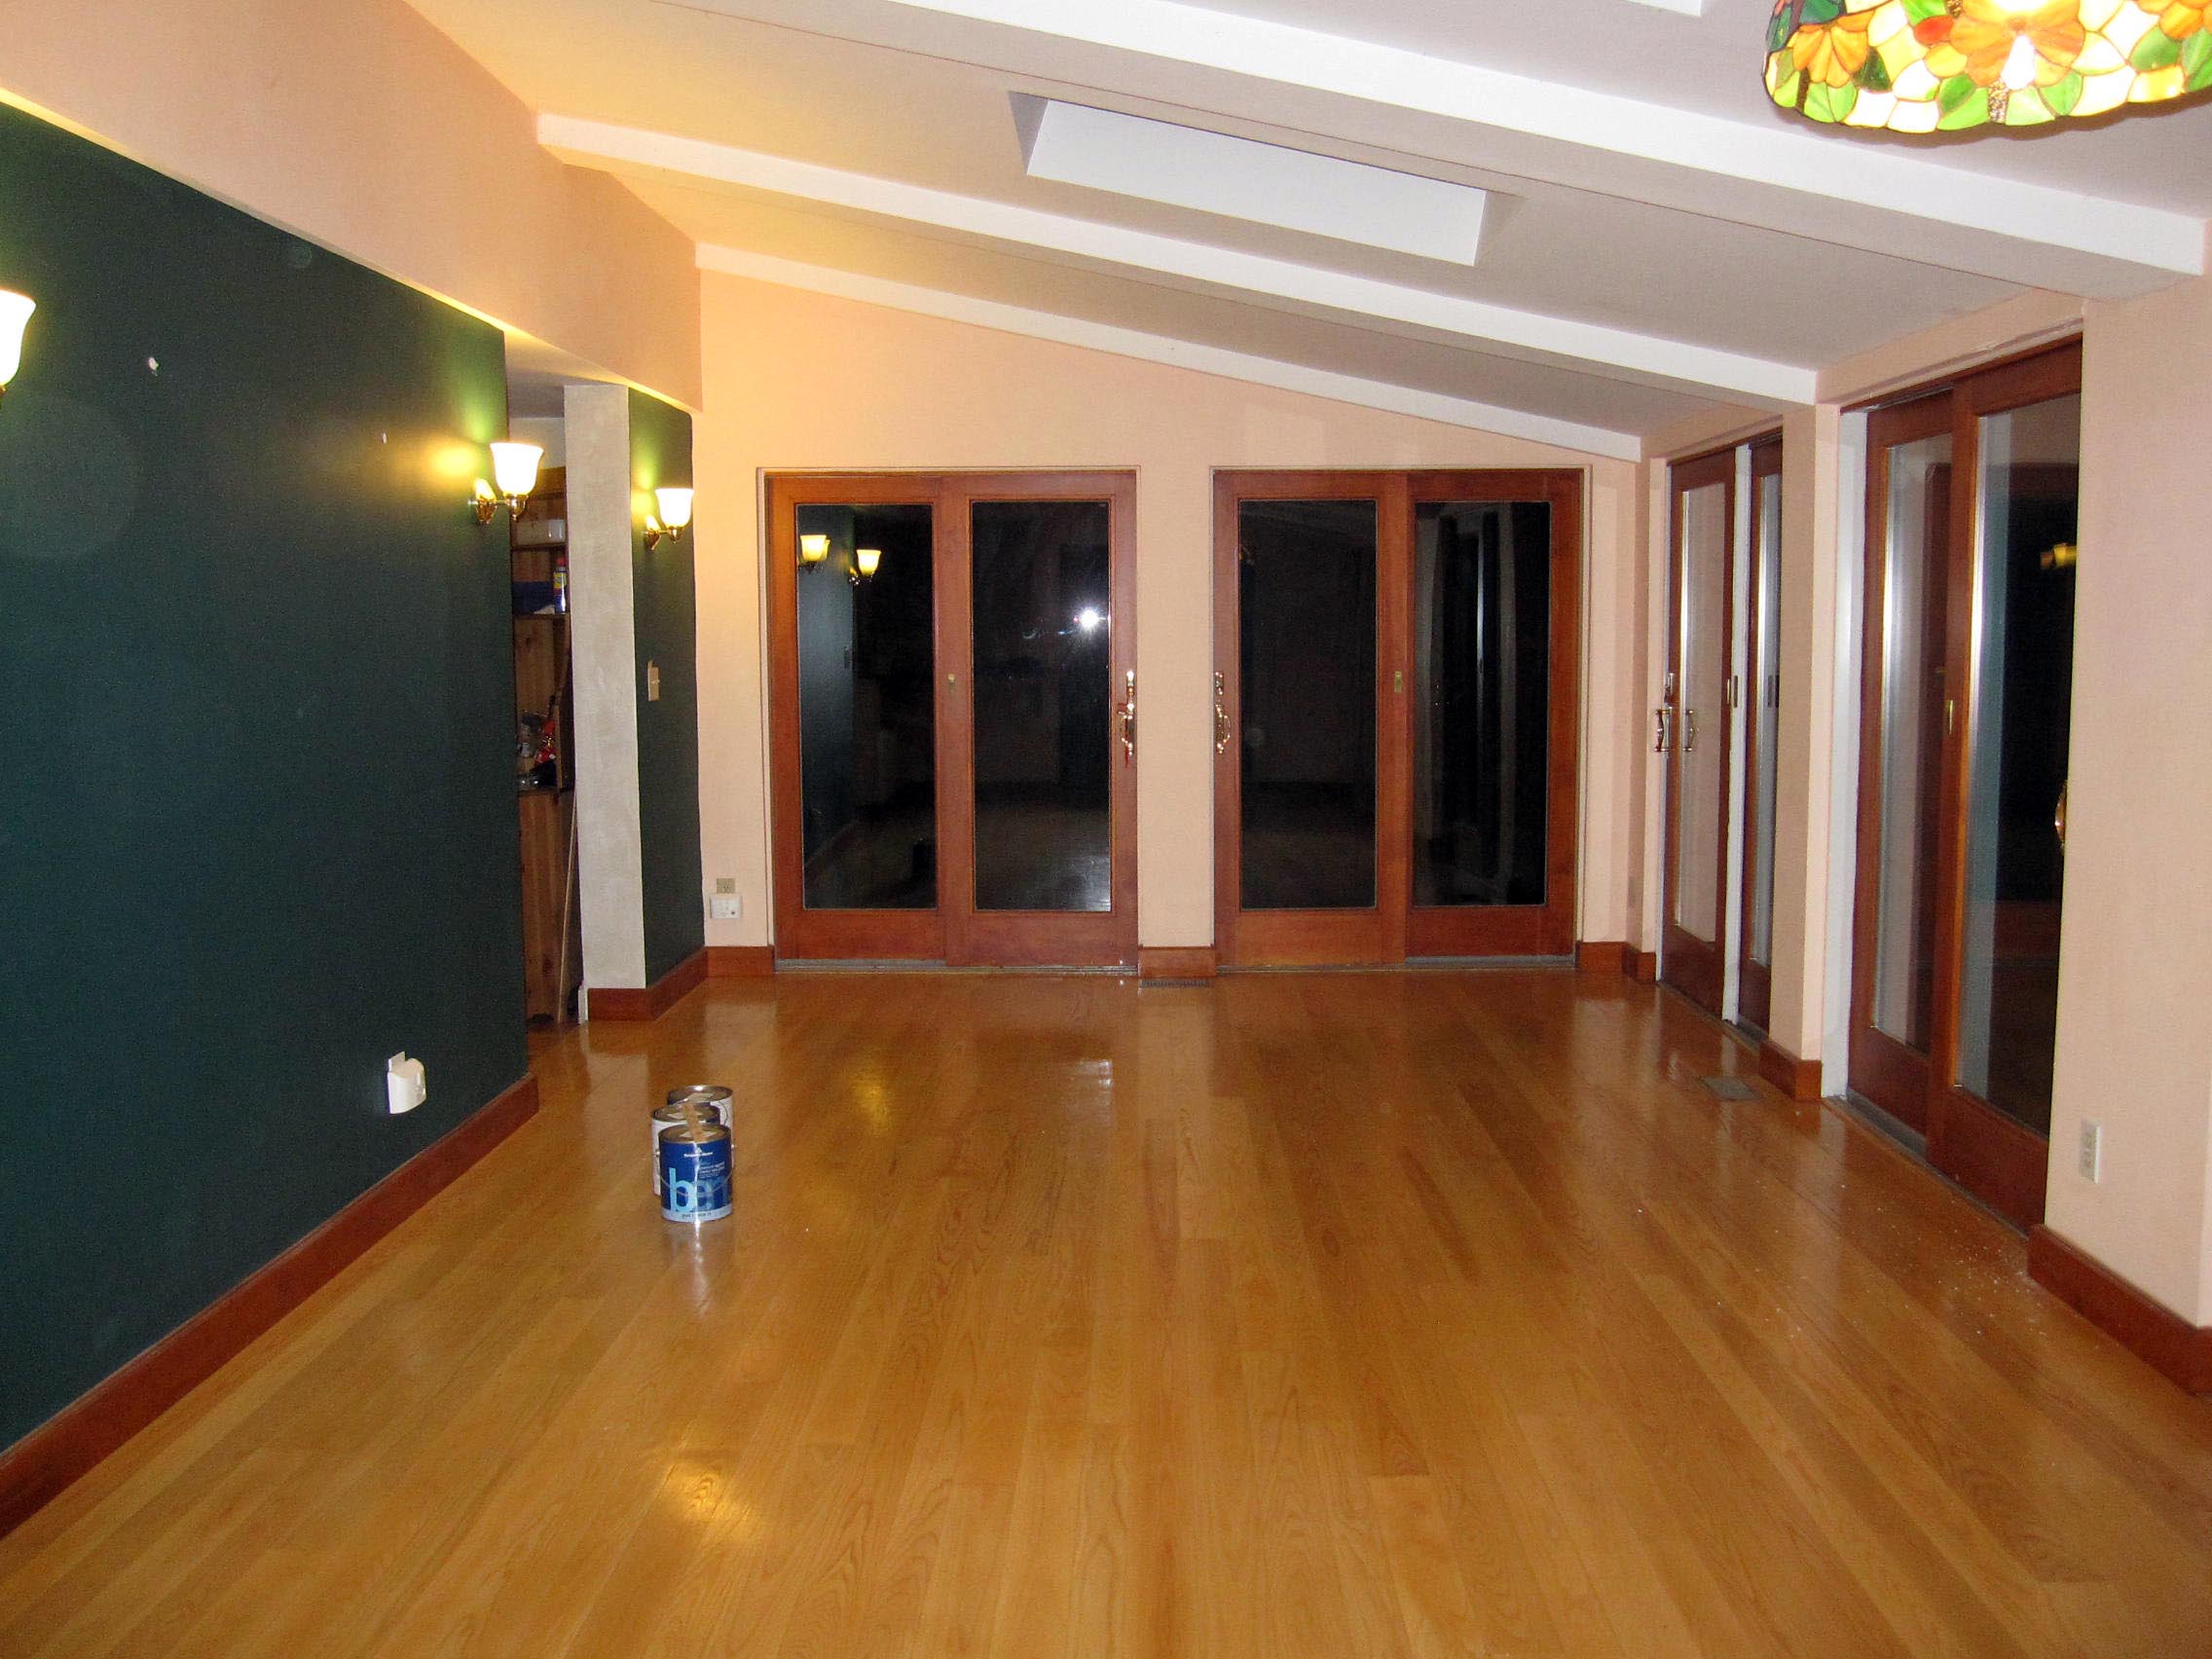
Sadly all the pictures I have are at night because that is when we get home from our day jobs and start our "second job." Here is the "before" shot standing at one end of the sun room and looking in to the family room. The walls are peach-y.

And here is the view from the other end. The accent walls are a forest green and we were never very fond of them. We are guessing the wall scheme was based on the lamp you see in the top right corner.

You can see why this is one of our more difficult rooms because of the high ceilings and all the cut-in's around the doors!
I'll tell you now I am going to tease you with in-progress shots! Here we are after one coat of primer and a coat of ceiling paint. Even though this room is not very old, there was a lot of touch up on the walls and ceiling to do.

And you can tell that green wall did NOT take primer very well. This is after one coat of primer. You can see where I painted a happy face. I'm not sure if the green paint was oil-based because the primer (and this was KILZ, the good kind!) practically beaded on the surface. It took THREE coats of primer to cover the green and even out the bead-i-ness.

I hope to have some finished photos for you next week! We did finish painting the room but it is totally empty. I figure the least I can do is get you a daylight shot. We are having a hard time trying to decorate this room so get your decorator's hat on so you can help us out!
Also we discovered a painter's tip! If you wrap your rollers in plastic bags and leave them in the fridge, you can use them the next day! We currently have 3 rollers in our fridge.... yum.
The sun room used to be a covered and enclosed porch that was converted back in '03. This is one of the rooms that sold me on the house - this and the kitchen. Although since we have made upgrades to the master bedroom - that is also a close competitor!
Sadly all the pictures I have are at night because that is when we get home from our day jobs and start our "second job." Here is the "before" shot standing at one end of the sun room and looking in to the family room. The walls are peach-y.

And here is the view from the other end. The accent walls are a forest green and we were never very fond of them. We are guessing the wall scheme was based on the lamp you see in the top right corner.

You can see why this is one of our more difficult rooms because of the high ceilings and all the cut-in's around the doors!
I'll tell you now I am going to tease you with in-progress shots! Here we are after one coat of primer and a coat of ceiling paint. Even though this room is not very old, there was a lot of touch up on the walls and ceiling to do.

And you can tell that green wall did NOT take primer very well. This is after one coat of primer. You can see where I painted a happy face. I'm not sure if the green paint was oil-based because the primer (and this was KILZ, the good kind!) practically beaded on the surface. It took THREE coats of primer to cover the green and even out the bead-i-ness.

I hope to have some finished photos for you next week! We did finish painting the room but it is totally empty. I figure the least I can do is get you a daylight shot. We are having a hard time trying to decorate this room so get your decorator's hat on so you can help us out!
Also we discovered a painter's tip! If you wrap your rollers in plastic bags and leave them in the fridge, you can use them the next day! We currently have 3 rollers in our fridge.... yum.
The primer doesn't need to totally cover it - you should be able to paint over what's there in the progress picture with a couple of coats of a good paint, no problem. I think I may have mentioned I'm in love with Behr Paint + Primer anyway.... I went over chocolate brown semi-gloss with it, 95% covered in one coat.
ReplyDeleteYou shouldn't need Kilz unless there's water damage/spots - regular primer should do it...
Love using the fridge trick - great for brushes, too!
That green wall looked pretty bad after 1 coat. Usually I wouldn't bother with another coat of primer but it really needed it! The Kilz was actually cheaper than other primer which was why we bought it. We should have used it to touch up the ceiling water damage because the ceiling paint really doesn't hide it.
ReplyDeleteI wondered if the fridge trick would work for brushes. We've ruined so many with dry paint but I'll give it a try!