Pages

Tuesday, December 21, 2010

1 Year: The Living Room

Time flies!! This past Sunday was our 1 year move in date. I can hardly believe we are getting ready to celebrate our 2nd xmas in our house. Crazy!

I really wanted to document all the house changes that have occurred in the past year. It's safe to say we have definitely put our mark on things. While I had visions of having the entire house done in a year, it still surprises me how much we managed to do between the wedding planning and Eric's traveling. I have good hopes for the year to come.

I wanted to start on the outside of the house but with the cold, bleak winter, it was looking really dismal. However starting yesterday we have had a steady dusting of snow so perhaps I will have a nice winter picture for you later.

I am starting things off easy with a room you have already seen. Here is our living room circa December 2009.


This room has already had some improvement as we had all the floors redone before we moved in. In some of the other rooms to come, you will see how scratched they are!


We painted the room top to bottom and replaced the sconces. You can see all the pictures and recap in this previous post. Here's a brief 2-pic summary:


The room was really empty so we took all our random pieces of furniture and put them in! We even hung some pictures! Whether things will stay as they are is yet to be seen.

(Oh PS, I took this next set of pictures with my Nikon D40... I think they are a step up from the Canon point-and-shoot I normally use.)


This is the room as viewed from the hallway entry. The plant was birthday party tiki decor and lives on. I've moved it since this pic to the dining room where I think it's less in the way. The table and chairs were all we could fit in our condo (!!) but now is a good spot for plants to get some sun!


Here is our fireplace all decked out. I didn't realize we had so many orange decor items and frankly, I just left the Thanksgiving stuff up and added pinecones and stockings for xmas. I had hoped to knit us xmas stockings but that will have to be next year. Not sure if the framed picture will stay, I always envision a mirror over the fireplace. Is that just me? The fireplace does work but I think it would be neat to get an electric insert. Less stress, no mess!


Here's the room looking from the sun room (back of the house) to the front of the house. Taking pictures during the day makes a huge difference! The bar will eventually move to the dining room and perhaps someday we will have a nice sofa and coffee table in its place. The cherry blossoms are from our wedding. They will probably live in the sun room but for now that is where we have the xmas tree so in to this room they go.


I somehow didn't get a decent shot looking the opposite direction (front to back) but I did get this hutch in the corner. That wreath is the sister to the red one in our sun room. The picture is artwork done by a school teacher that we got at an auction - it is a famous scene in Rockport which is near where we got married. Most of the stuff on the hutch is leftover wedding items. I think I want the sun room to be the more beach-y room but this is what it is for now!


Even though our house is a colonial, I don't want this room to end up in that direction. I still want it to be modern and hip! (Is "hip" even a cool word anymore?) We are hoping to hang some curtains soon and then maybe adding some more white and silver accents will make it less colonial-ish. Oh, and this room is just DYING for crown moulding... don't you think???


Linked up to:

Monday, December 13, 2010

Sparkly and Fuzzy

After finishing knitting my shawl (hm, I guess it's still waiting for me to block it), I jumped in to my holiday crafting.

I try to craft little things for close family and friends each year. Last year I didn't do anything (that whole buying and moving in to a house thing) but year before I made really cute Korknisse and the year before that I crocheted snowflakes.

This year it's all about ornament covers!


This is a great way to use up all my yarn leftovers! I bought some plastic unbreakable ornaments from Ikea (silver-colored) and grabbed some Red Heart Holiday yarn from my stash. The above ornament I gave to my mom but I had a sudden idea to use up some other yarn I had in my stash for my sister's ornament...


Fun Fur! Yeah, don't be shy, you know you have some fun fur in your stash! My friends laughed when they saw what I was knitting and I wasn't sure it would come out as I hoped but in the end I think it was a success!

So far I have only knit 2 red ornaments and 1 fuzzy ornament... I better get moving. I might embellish with some ribbons or bells if I get a chance.

Are you doing any holiday crafting? Please share!

Tuesday, December 7, 2010

Sun Room Revisited

So how much did we get done with the house for my birthday? A ton! We hung pictures, arranged furniture, organized, and let's face it, stored a ton of stuff in the basement!

Not only did my mom surprise me by flying out from CA to visit, Eric surprised me with a really awesome tiki party! The house was totally transformed with a tiki hut, flip-flop lights, lanterns, and even a giant Homer Simpson cut out (in hula attire of course). We got a chance to show off our mostly redone house and reinforced the fact that our house is great for hosting parties. :-)

I am sure you really want to see what's up with the house though. As it gets closer to our 1 year move in date (Dec 19) I will start showing before and after of all the rooms we've done.

Surely you remember this horrible primed wall in our sun room:


We painted the wall and updated the sconces and it remained a blank canvas for almost a month. We had purchased some decorative shelves to put in the office but soon decided they would go much better on this wall. The shelves had come with a template that indicates where holes are to be drilled so after cutting them out and carefully measuring, leveling, and taping, Eric started to drill where the holes indicated.


Easy peasy right? NO! No project is ever that easy. We went to hang the shelves and the holes were off! The template did not match at all! Buyer beware on the decorate shelving from Michael's. We ended up having to drill more holes before hanging our shelves. However, the end result looks really great!


We decorated the shelves with what we had but soon it will be Christmas themed.

The buffet is from a consignment store down the street and has been sitting either in the garage or family room since it came home! We hope to refinish it some day but for now, it works! It also haphazardly holds our fine china.

The nutcrackers were part of the decor from my party - they are a hula guy and hula girl. They are from Target!

The shell vases and orchids were part of my gift from Eric. Long story short, we had shell vases and orchids at our wedding and they got accidentally taken home by our guests. Since then I have been hunting for the exact vases and even though I found them months later, I didn't order them. Good thing because Eric did and even ordered the orchids from the same place as before!

The tall vase on the right side was also used in our wedding though it was filled with origami cranes. It sat empty since I donated the cranes but we picked up the bamboo poles and fake grass from Target and now it looks really awesome! It also keeps people from getting too close to the shelf and knocking it down!

And the wreath...


The wreath was almost as popular as Hula Homer! Eric will tell you he spent hours whittling the wood to construct it but in reality, it is also from Target! I had my eye on this wreath for many months and when they finally went on sale, we bought two! (The other is in the living room.) We placed the shelves based on the wreath and hope to change it out seasonally.

So there you go, a really ugly wall turned all pretty!

Monday, November 29, 2010

4 hours = new railing!

We are on a roll with the house in our attempt to get it ready by my birthday just a week and a half away!

Eric went around the house and replaced all the dated brass knobs with nice shiny satin nickel knobs. He also managed to fix a bunch of our doors that never closed properly.

We also managed to install some bedside reading lights that we bought a month ago. I love them as they really match our furniture and give off just enough light for reading. Perhaps some day we'll get some wires covers and paint them the wall color but for now they look great!


Of course that night (Fri) we got a call from the bank doing our refinance telling us our appraisal was all set except one thing - our deck stairs needed a railing!


I'm not sure why it wasn't addressed last year when we bought the house but alas, we said we'd have it up by Monday. A trip to Home Depot yielded all sorts of railing options and $300 (!!) later, we had all our parts.

We actually had to get up EARLY on Sunday to work on this so we could make a birthday party later in the day. (Sorry neighbors!) Neither Eric nor I have ever built a railing but somehow, after multiple broken drill bits, stripped screws, and removal of a stair tread, we had a pretty decent looking railing!


We opted not to continue the wrought iron railing around the rest of the deck in favor of this non-rust PVC type railing. Someday we want to expand the deck because for such a big house, the deck is really small! We can hardly fit a table and chairs on it.


It's still standing so I'm guessing we did a pretty decent job!

Monday, November 22, 2010

Baby Bibs

I took almost a year off from anything yarn related while we moved, bought a house, and got married. I wasn't sure my craft mojo was going to come back but apparently it has.

I crocheted these baby bibs for a knitting friend who is expecting in January.


She got TONS of baby bibs at her shower but only mine were hand-made. And despite these being made to the correct dimensions, they seem really large! But I guess with a baby, more coverage is better right?


The pattern is Blossom Bib by Coats and Clark. I did a simple crochet edging instead of the scalloped one shown. The yarn is Lily Sugar 'n Cream in Hot Blue and Sage Green with Cream edging.

With this baby project done, I am now officially in to my holiday knitting. Only a month to go!

Tuesday, November 16, 2010

Seeing Red

Oh hi, yes, I'm still here. We are working so hard on the house that I hardly have time to post! You may remember we are trying to finish up by the 1 year mark and that is Dec 19, less than 5 wks away! But somehow we decided to challenge ourselves and see what could be done before my birthday and that is less than 3 wks away! We've made great progress though...

Last I left off we were painting the sun room. Well that was quickly finished and we jumped right in to the kitchen and then right in to the living room. Unfortunately all that painting meant moving our crap from room to room and now it's all spread out in the sun room so you will have to wait longer for those pictures.

However, I do have a wonderful before and after to show you - the living room!

Here is the before... I can't even apologize for the glare because that is not my camera - no my friends, that is iridescent paint around the entire room including the trim.


The paint also had some sort of "dripping" texture which means that Eric had to sand down each and every wall as well as the ceiling which had cracks from the house settling. I will also point out the dainty lace curtains, dated brass fixtures, and stencil over the fireplace. Actually the stencil wasn't so bad, it was green with purple accents (either thistles or pineapples depending who you ask).


Here is the after!


Despite my intentions of taking pictures during the day, I only have night photos. You can see the mess in our sunroom through the doorway. Hide your eyes!


We painted the walls and all the trim including the windows. We replaced the worn window sashes with satin nickel. Then we installed these fancy new sconces. Like, we had to special order them from Home Depot. Swanky!


And another shot.


The paint is Crimson by Benjamin Moore in Eggshell Finish. It is really the perfect red and warms up the room. This was a room we never went in to except to store all our junk and now we always visit this room just to look around!

So far we've moved in some furniture we had and laid down a braided rug. We decorated the mantle a bit and are now trying to decide on curtains.


With my birthday looming we've decided no more new projects... only finishing ones we've started which somehow, seems to be a lot!

Monday, October 25, 2010

Baby Hats

Well I did say I would have some crafts on this blog so here's two projects. My cousin just had a cute baby girl and since the weather is starting to get chilly, I knew she needed some hats!

I love baby knits because not only are they adorable, but they knit up real fast! I knit this hat in two days.


Pattern: U-Cord Hat from Stitch 'n Bitch
Needles: size 7
Yarn: 1/2 skein of Target Knitting Yarn (yes I still have some of this in my stash!)
Started: Oct 19, 2010
Finished: Oct 21, 2010
Notes: Cute and simple pattern... this is the 2nd I've made with this pattern.


I discovered this other baby hat I knit awhile ago and still had (probably a stash busting project) so I sent that along as well. A girl can never have too many accessories. (Sorry this one didn't photograph well.)


Pattern: I'm guessing but probably Homespun Baby Set from Lion Brand (Ravelry link)
Needles: Unknown
Yarn: Lion Brand Homespun in Baroque
Started: Not sure but I made 3 similar hats back in 2007 so this could be from then


Now you might be asking, where do you get a baby sized hat model when you don't have access to a real baby? Well remember that vase I spray painted last week? Turn it upside down and it's the perfect baby hat model!


I have many more babies to knit for so expect more knits!

Friday, October 22, 2010

Clear Out!

Even though it's been 10 months (and 3 days) since we moved in to our house, I am still cleaning out boxes. I can't believe we moved with all this stuff! On the other hand, when it's packed away, you realize what you really do and do not need so I can look at things and say, I haven't touched this in 10 months, out it goes!  It's funny to think we moved in to this large house and now I have a sudden urge to get rid of stuff. I thought I'd write about good ways to find new homes for your stuff.

- Craigslist: An old favorite but I am finding now that we are farther from the city, there is less market. Also people in the 'burbs aren't looking for things to last their college years and then toss them, they want nice stuff!


- Amazon: We cleaned out a ton of video games and DVDs to set out for a yard sale. To get an idea of resell price I went to Amazon's Trade In Program and realized it was worthwhile to send items in! The shipping is free and for about 18 movies and games, we got over $70 in Amazon credit.

- Consignment: We are lucky to live very close to 3 consignment stores - one for women's clothing and accessories, one for baby and children's items, and one for household goods. I have a LOT of clothes - some still new with tags - so I dropped off a couple. I already have another round of purses and shoes to drop off.

- Yard Sale: We had our 1st ever yard sale this past Sat and did pretty well. It was a neighborhood yard sale so I think that really helped. Of course the rule is, don't bring the unsold stuff back in to the house! Right now it's sitting in the garage.

We put out a bunch of free leftovers and I just discovered Big Brothers Big Sisters will come pick up items so I will be scheduling that. I am sure we we'll have a bag for the Salvation Army (with a drop off box conveniently at the dump). And maybe some books to the library?

It's great to have cleared out a whole corner of the living room, made a little money, and donated to charities. All that stuff and none of it went in to a landfill. Whew!

Tuesday, October 19, 2010

Hello Sun Room

After seeing the transformation from painting the hallway, we were gung-ho to start another painting project. There was no procrastinating any longer, it was time to tackle one of the more difficult rooms in the house - the sun room!

The sun room used to be a covered and enclosed porch that was converted back in '03. This is one of the rooms that sold me on the house - this and the kitchen. Although since we have made upgrades to the master bedroom - that is also a close competitor!

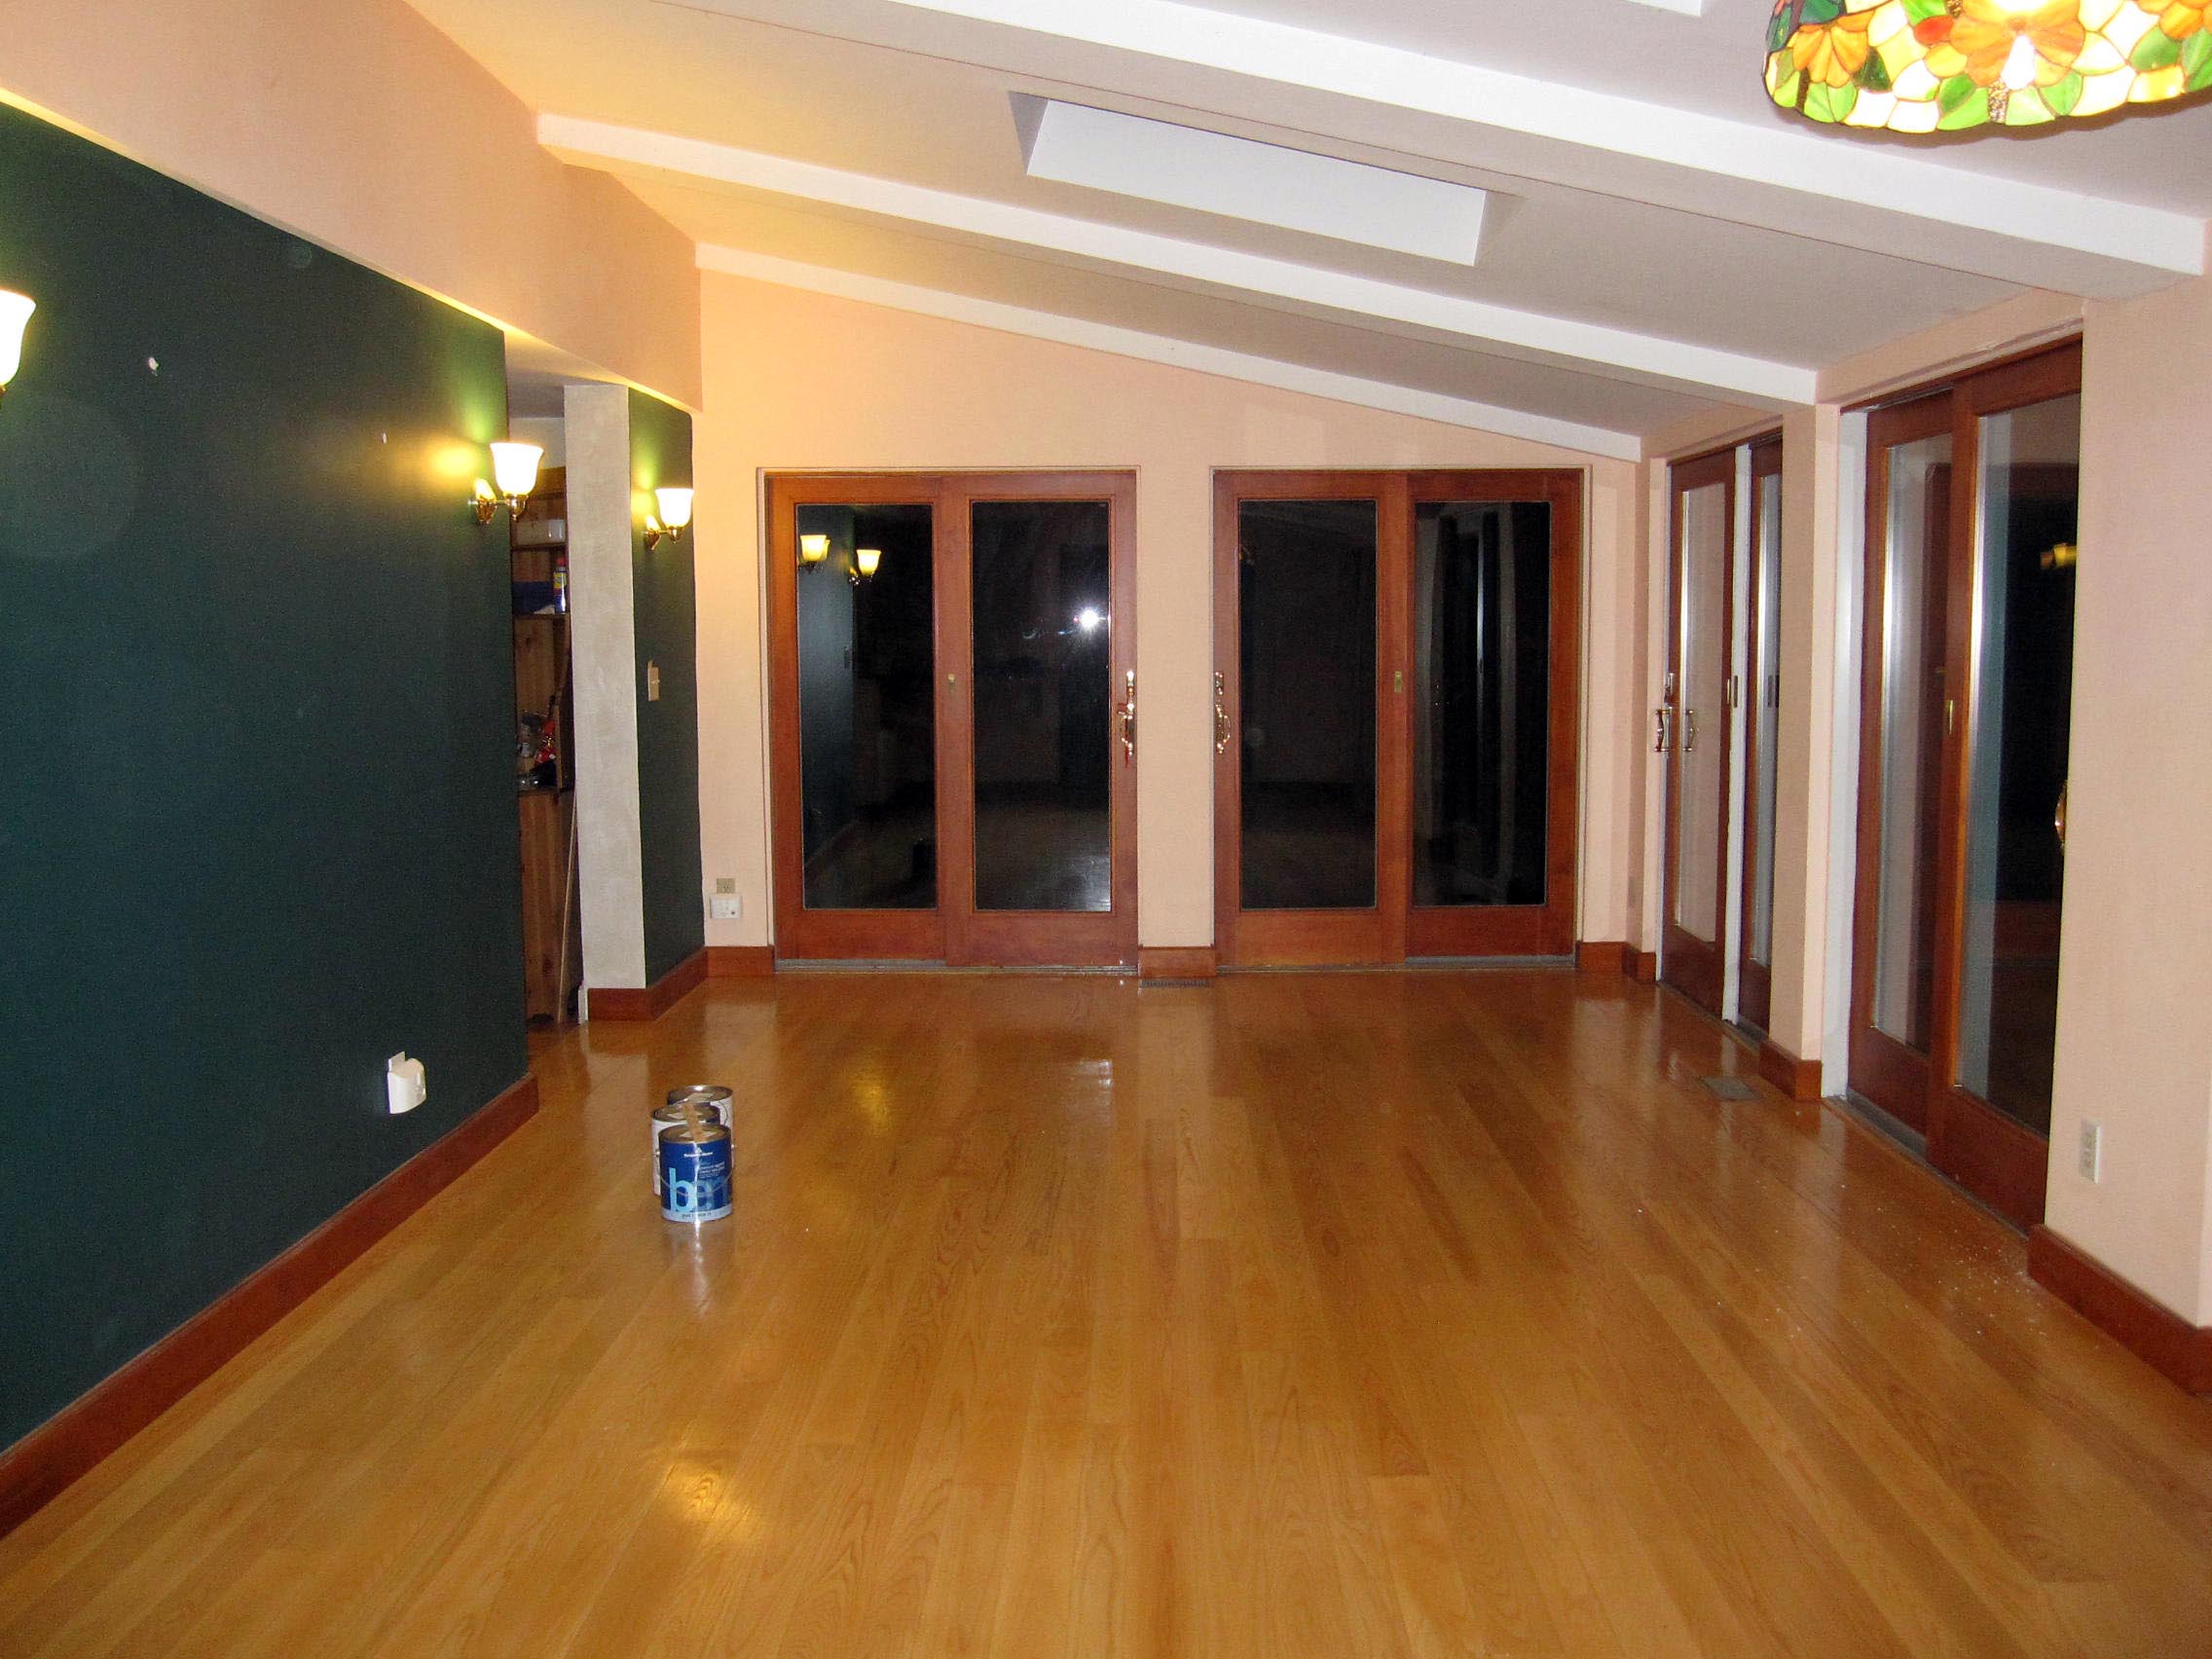
Sadly all the pictures I have are at night because that is when we get home from our day jobs and start our "second job." Here is the "before" shot standing at one end of the sun room and looking in to the family room. The walls are peach-y.


And here is the view from the other end. The accent walls are a forest green and we were never very fond of them. We are guessing the wall scheme was based on the lamp you see in the top right corner.

Living Room Before

You can see why this is one of our more difficult rooms because of the high ceilings and all the cut-in's around the doors!

I'll tell you now I am going to tease you with in-progress shots! Here we are after one coat of primer and a coat of ceiling paint. Even though this room is not very old, there was a lot of touch up on the walls and ceiling to do.


And you can tell that green wall did NOT take primer very well. This is after one coat of primer. You can see where I painted a happy face. I'm not sure if the green paint was oil-based because the primer (and this was KILZ, the good kind!) practically beaded on the surface. It took THREE coats of primer to cover the green and even out the bead-i-ness.


I hope to have some finished photos for you next week! We did finish painting the room but it is totally empty. I figure the least I can do is get you a daylight shot. We are having a hard time trying to decorate this room so get your decorator's hat on so you can help us out!

Also we discovered a painter's tip! If you wrap your rollers in plastic bags and leave them in the fridge, you can use them the next day! We currently have 3 rollers in our fridge.... yum.

Wednesday, October 13, 2010

The Hallway

Well I am off to a running start aren't I? Truth is, we've spent the past week (and weekend) working on house stuff! But now I can present to you a before and after!

This is our master bedroom hallway before.

View from the main hall:


View from the bedroom:


Please note the granny-style valance left by previous owners and outline of a mirror on the wall which apparently used to be blue.

I know it seems weird our master bedroom has its own hallway but it basically has to do with an addition (our master bedroom and room below it) that was added on in the early years of the house. We have learned early on not to question what the previous owners were thinking when making house decisions so it is what it is. It is actually a large area for a hallway and I admit, it is kind of a waste of space!

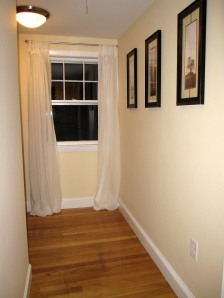
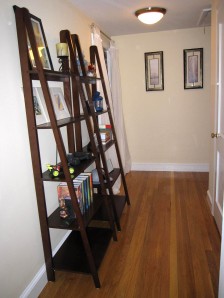
So after 9 months (actually almost 10 I guess) of walking through this drab off-white and patchy hallway, we got around to painting and even decorating and wow, it is such a difference! Now when walking to the bedroom, you immediately start to feel relaxed.

Hall After

Hall After

Paint:

- Walls: Benjamin Moore Regal, Matte Finish in Rich Cream (next time I would use the eggshell finish to better hide the blemishes on the wall)

- Trim: Benjamin Moore Ben, Semi Gloss in Decorator's White

The best part about the decorating is we had everything on hand so it only costs us the paint and paint supplies! I am amazed how the hallway now is a pretty and functional space!

What do you think?

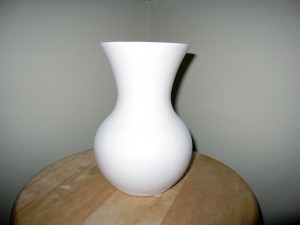
On a side note, I have been reading on other house blogs about the wonders of spray paint. I decided I had to try it for myself so I grabbed a scratched brown vase destined for a yard sale (forgot a "before" photo) and spray painted it white. How's it look? I don't know what to put in it but I think it looks so much better!


Spray Painted Vase

Thursday, October 7, 2010

Here we go!

Welcome, welcome! The past year has been full of changes with even more to come so I decided to channel all my excitement in one place. I thought it would be fun to share all my projects and accomplishments and maybe even some failures.


I decided to give some purpose to the blog so I am going to focus on:


(1) Home improvement/design/renovation/inspiration/whatever you want to call it - My husband and I just bought our first house 9 months ago and we are in the home stretch to get a housewarming in by the 1 year mark. Will we make it??


(2) Crafts! - After a brief hiatus, I am back to knitting and maybe if I'm lucky, I will sew again!


(3) Travel - Who doesn't love to see photos of far away places? I also hope to remember my trips a lot better by "documenting" them. I don't travel as much as I used to but I am also pretty behind on trips I've taken (case in point, Alaska Cruise 2009... photos still in camera...).


So there we go. I will refine as needed. Hopefully I will be posting once a week and hopefully you will enjoy it and leave lots of comments!